DIY: Photo Coasters
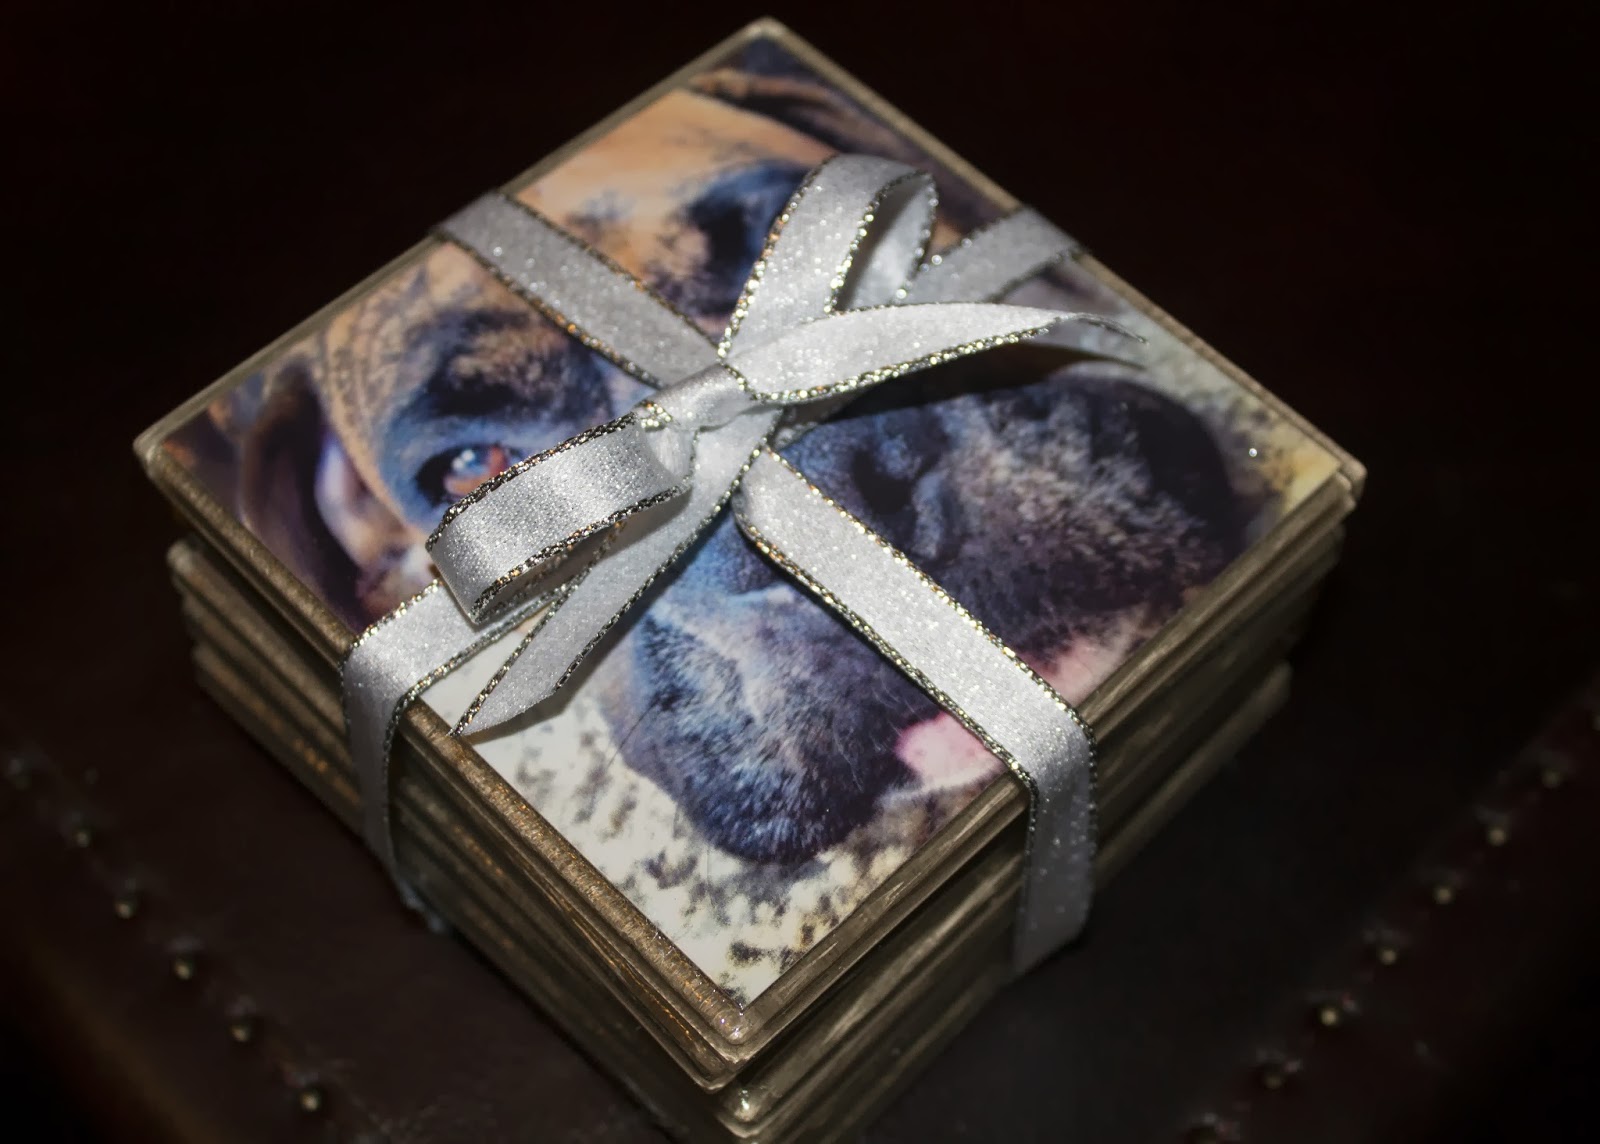
8:00:00 AMThe holidays are just around the corner, and in preparation for a house full of guests I took stock and figured I needed additional coasters to protect my counters and tables from unruly glass rings. I've seen friends purchase photo coasters and figured I could save some money and make them myself. I loved the way they turned out. Not only can you make them for yourself, but they are great personal gifts to give friends and family. Check out how to do it below...

You'll Need:
- 4x4 photos
- 4x4 tiles (I purchased mine at Loews. Range between $0.85-$5.00 depending on the style)
- Mod Podge (I used gloss)
- Tree House Clear Acrylic High Gloss Coating Spray
-Foam paint brush
- Felt
-Hot glue gun
- Scissors

2. Coat a layer of Mod Podge on the backside of the photo and attach to the tile. Press down on the photo to make sure it adhered fully. Let it dry.
3. Brush Mod Podge across the top of the photo and the tile to seal it. Let it dry. Repeat 3 times for a total of 4 coats. Note: Mod Podge does leave lines as a natural part of the process.


4. Spray coating across the top of the coaster to waterproof the coaster. Let it dry. Repeat 4 times for a total of 5 coats.
5. Cut felt into squares to fit the backside of the tile.
6. Hot glue the felt to the backside of the tile and let it dry.

For gifting, add a nice bow for decoration. DIY project complete!


2 comments
Cute! Love
ReplyDeleteThe 4x4 format makes it worth checking the crop before any glue goes on. A paper square with a window cut to the tile size can help compare several crops without cutting the original print, especially when a face sits near an edge. For a coordinated gift set, numbering the intended order on the paper proofs can keep the images organized during drying. I would also include the coating manufacturer’s curing and care instructions with the finished set, since dry to the touch and ready for a wet glass can be different stages. Disclosure: I’m commenting on behalf of GiftImage.
ReplyDelete